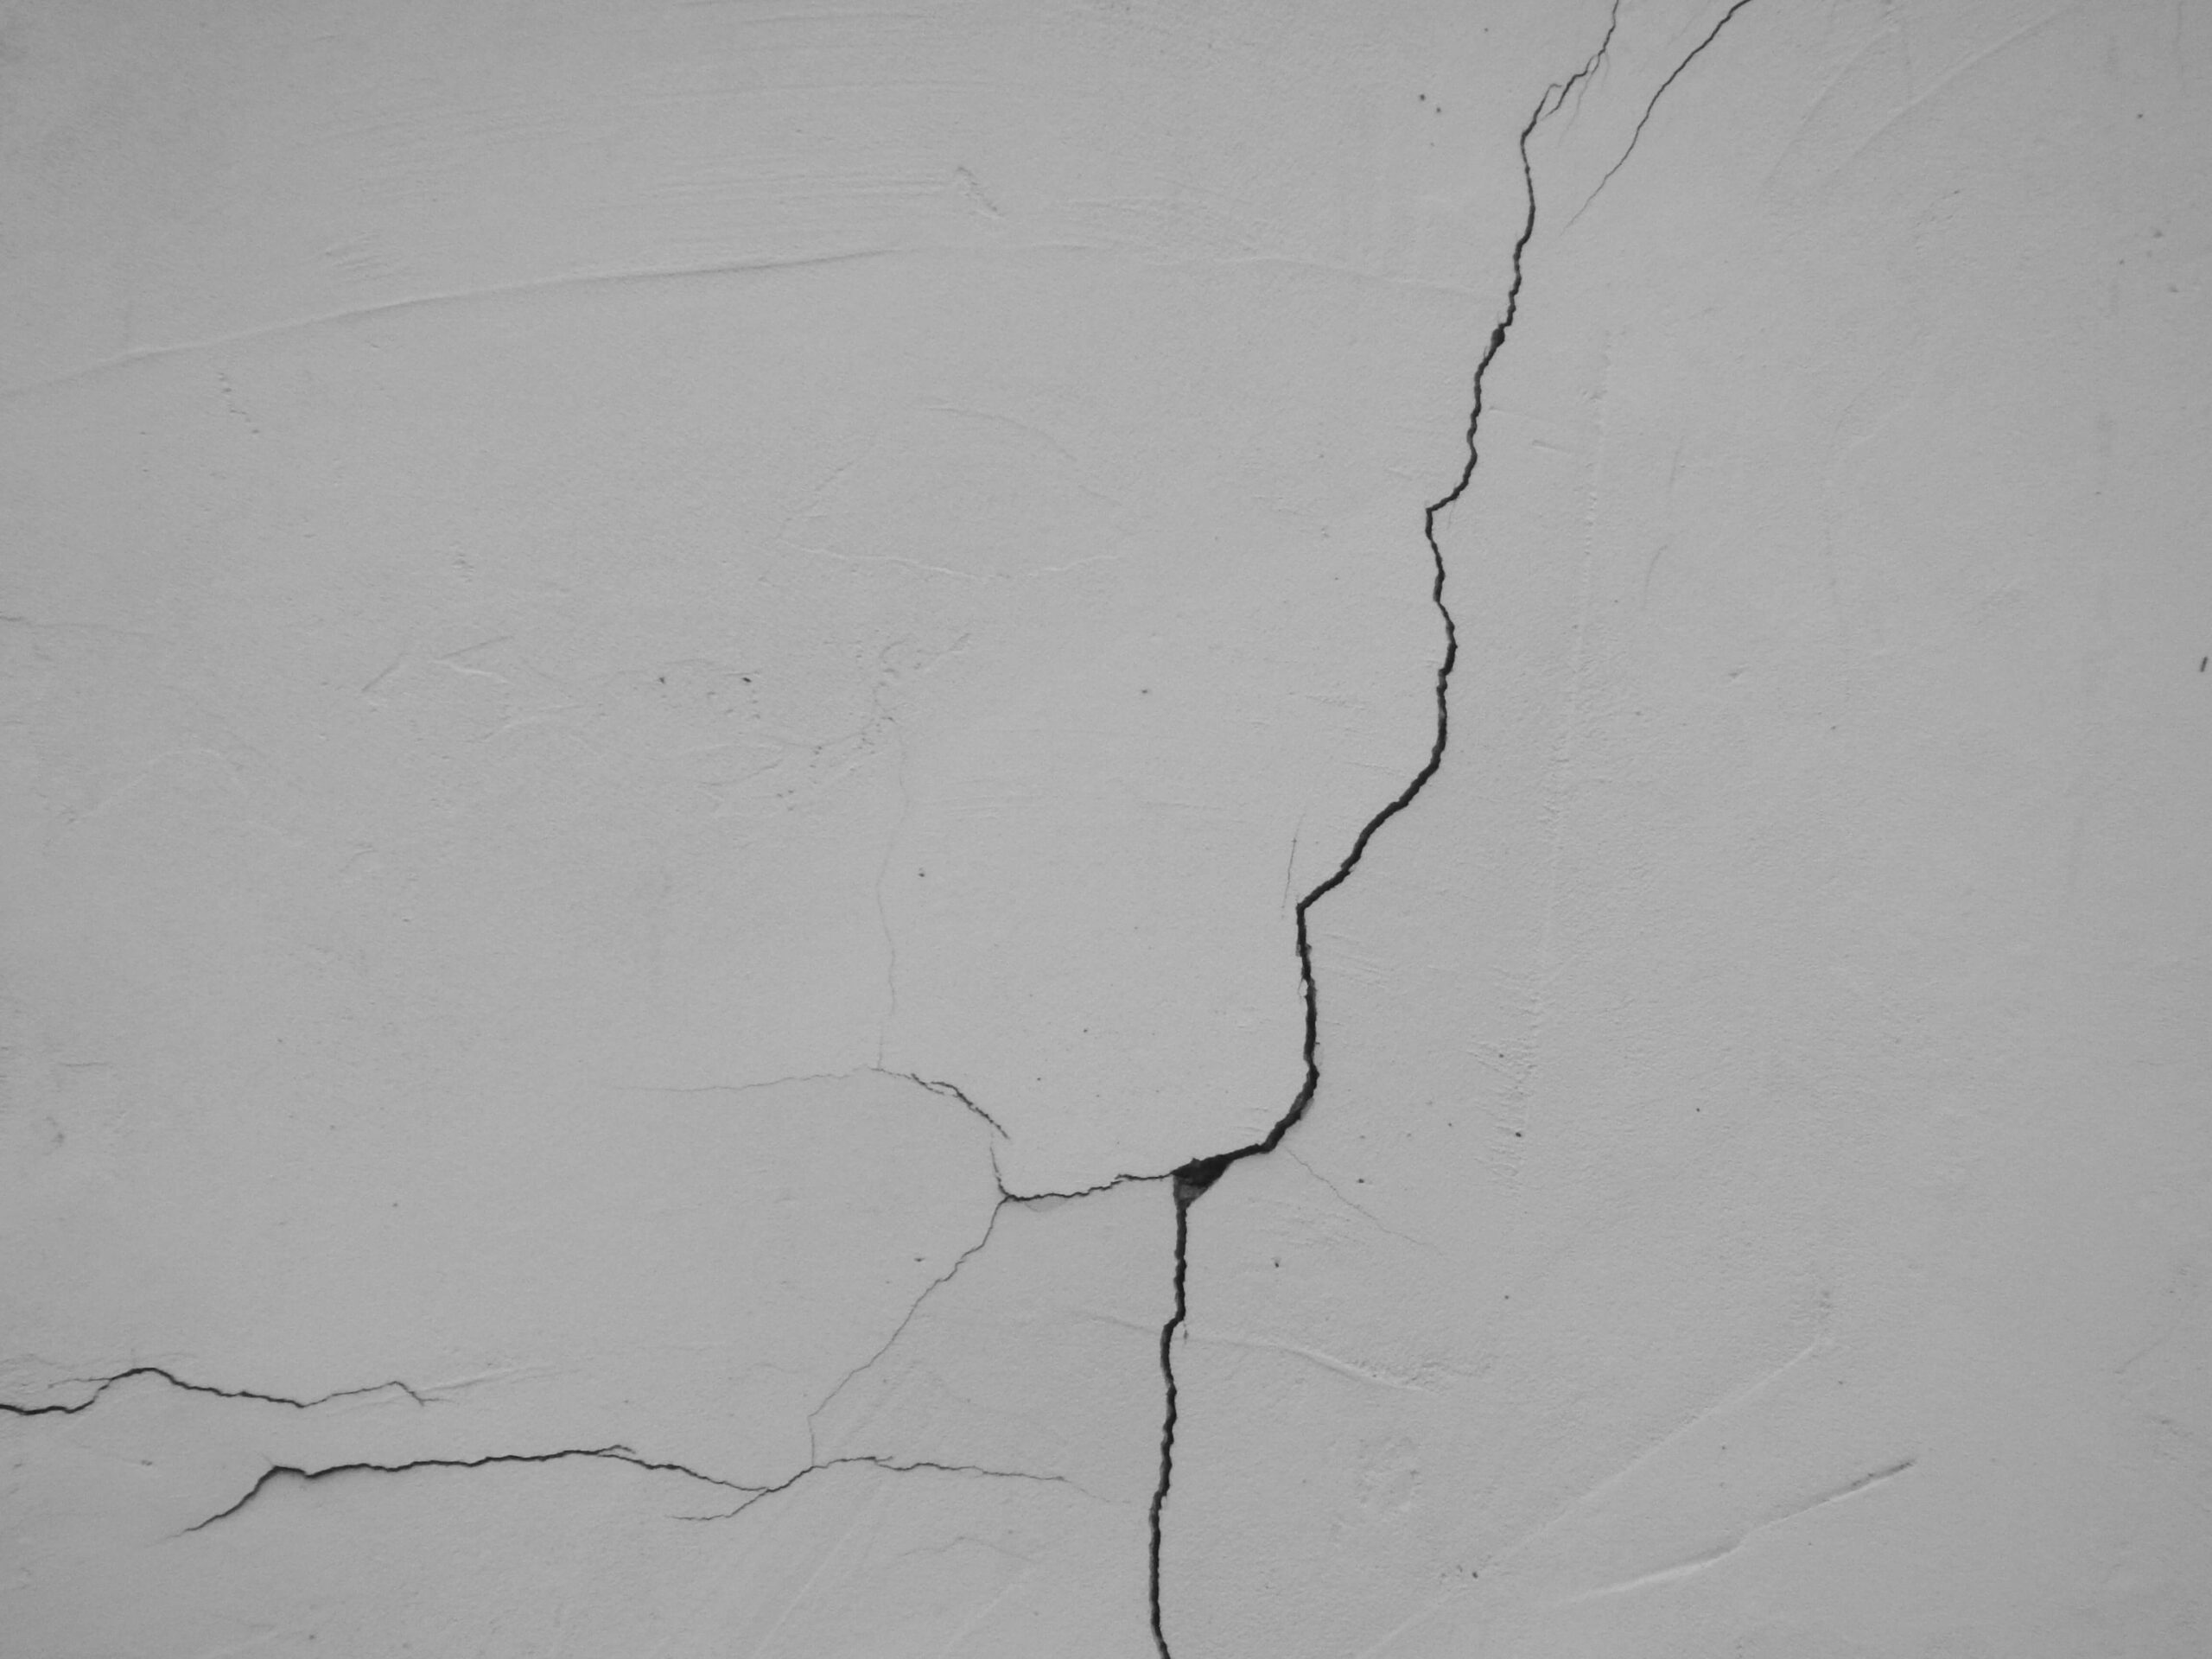
A drywall hole is one of those tiny home disasters that feels much bigger than it actually is. A doorknob slams into the wall. A chair tips over. A picture frame falls. Suddenly, there’s a hole staring at you every time you walk past — and the longer you ignore it, the more it bugs you.
Here’s the good news: how to patch drywall holes is genuinely one of the most beginner-friendly home repairs you can learn. With about $25 in materials and an afternoon of patience, you can fix damage that contractors would charge $150–$300 to repair.
This guide walks you through three repair scenarios — small holes, medium holes, and large holes — using the exact techniques and tools that actually work. No fluff, no upselling you into buying a $400 toolkit. Just clear steps that produce results.
What’s in This Guide
- Tools and Materials You’ll Need
- How to Patch Small Drywall Holes (Nail and Screw Holes)
- How to Patch Medium Drywall Holes (Up to 6 Inches)
- How to Patch Large Drywall Holes (Bigger Than 6 Inches)
- Sanding, Priming, and Painting Like a Pro
- Common Mistakes to Avoid
- When to Call a Professional
- Frequently Asked Questions
Quick reference: Small holes (under 1/2″) → spackle and a putty knife. Medium holes (1/2″ to 6″) → mesh patch + joint compound. Large holes (6″+) → drywall replacement section + tape + multiple compound coats. Read on for the details.
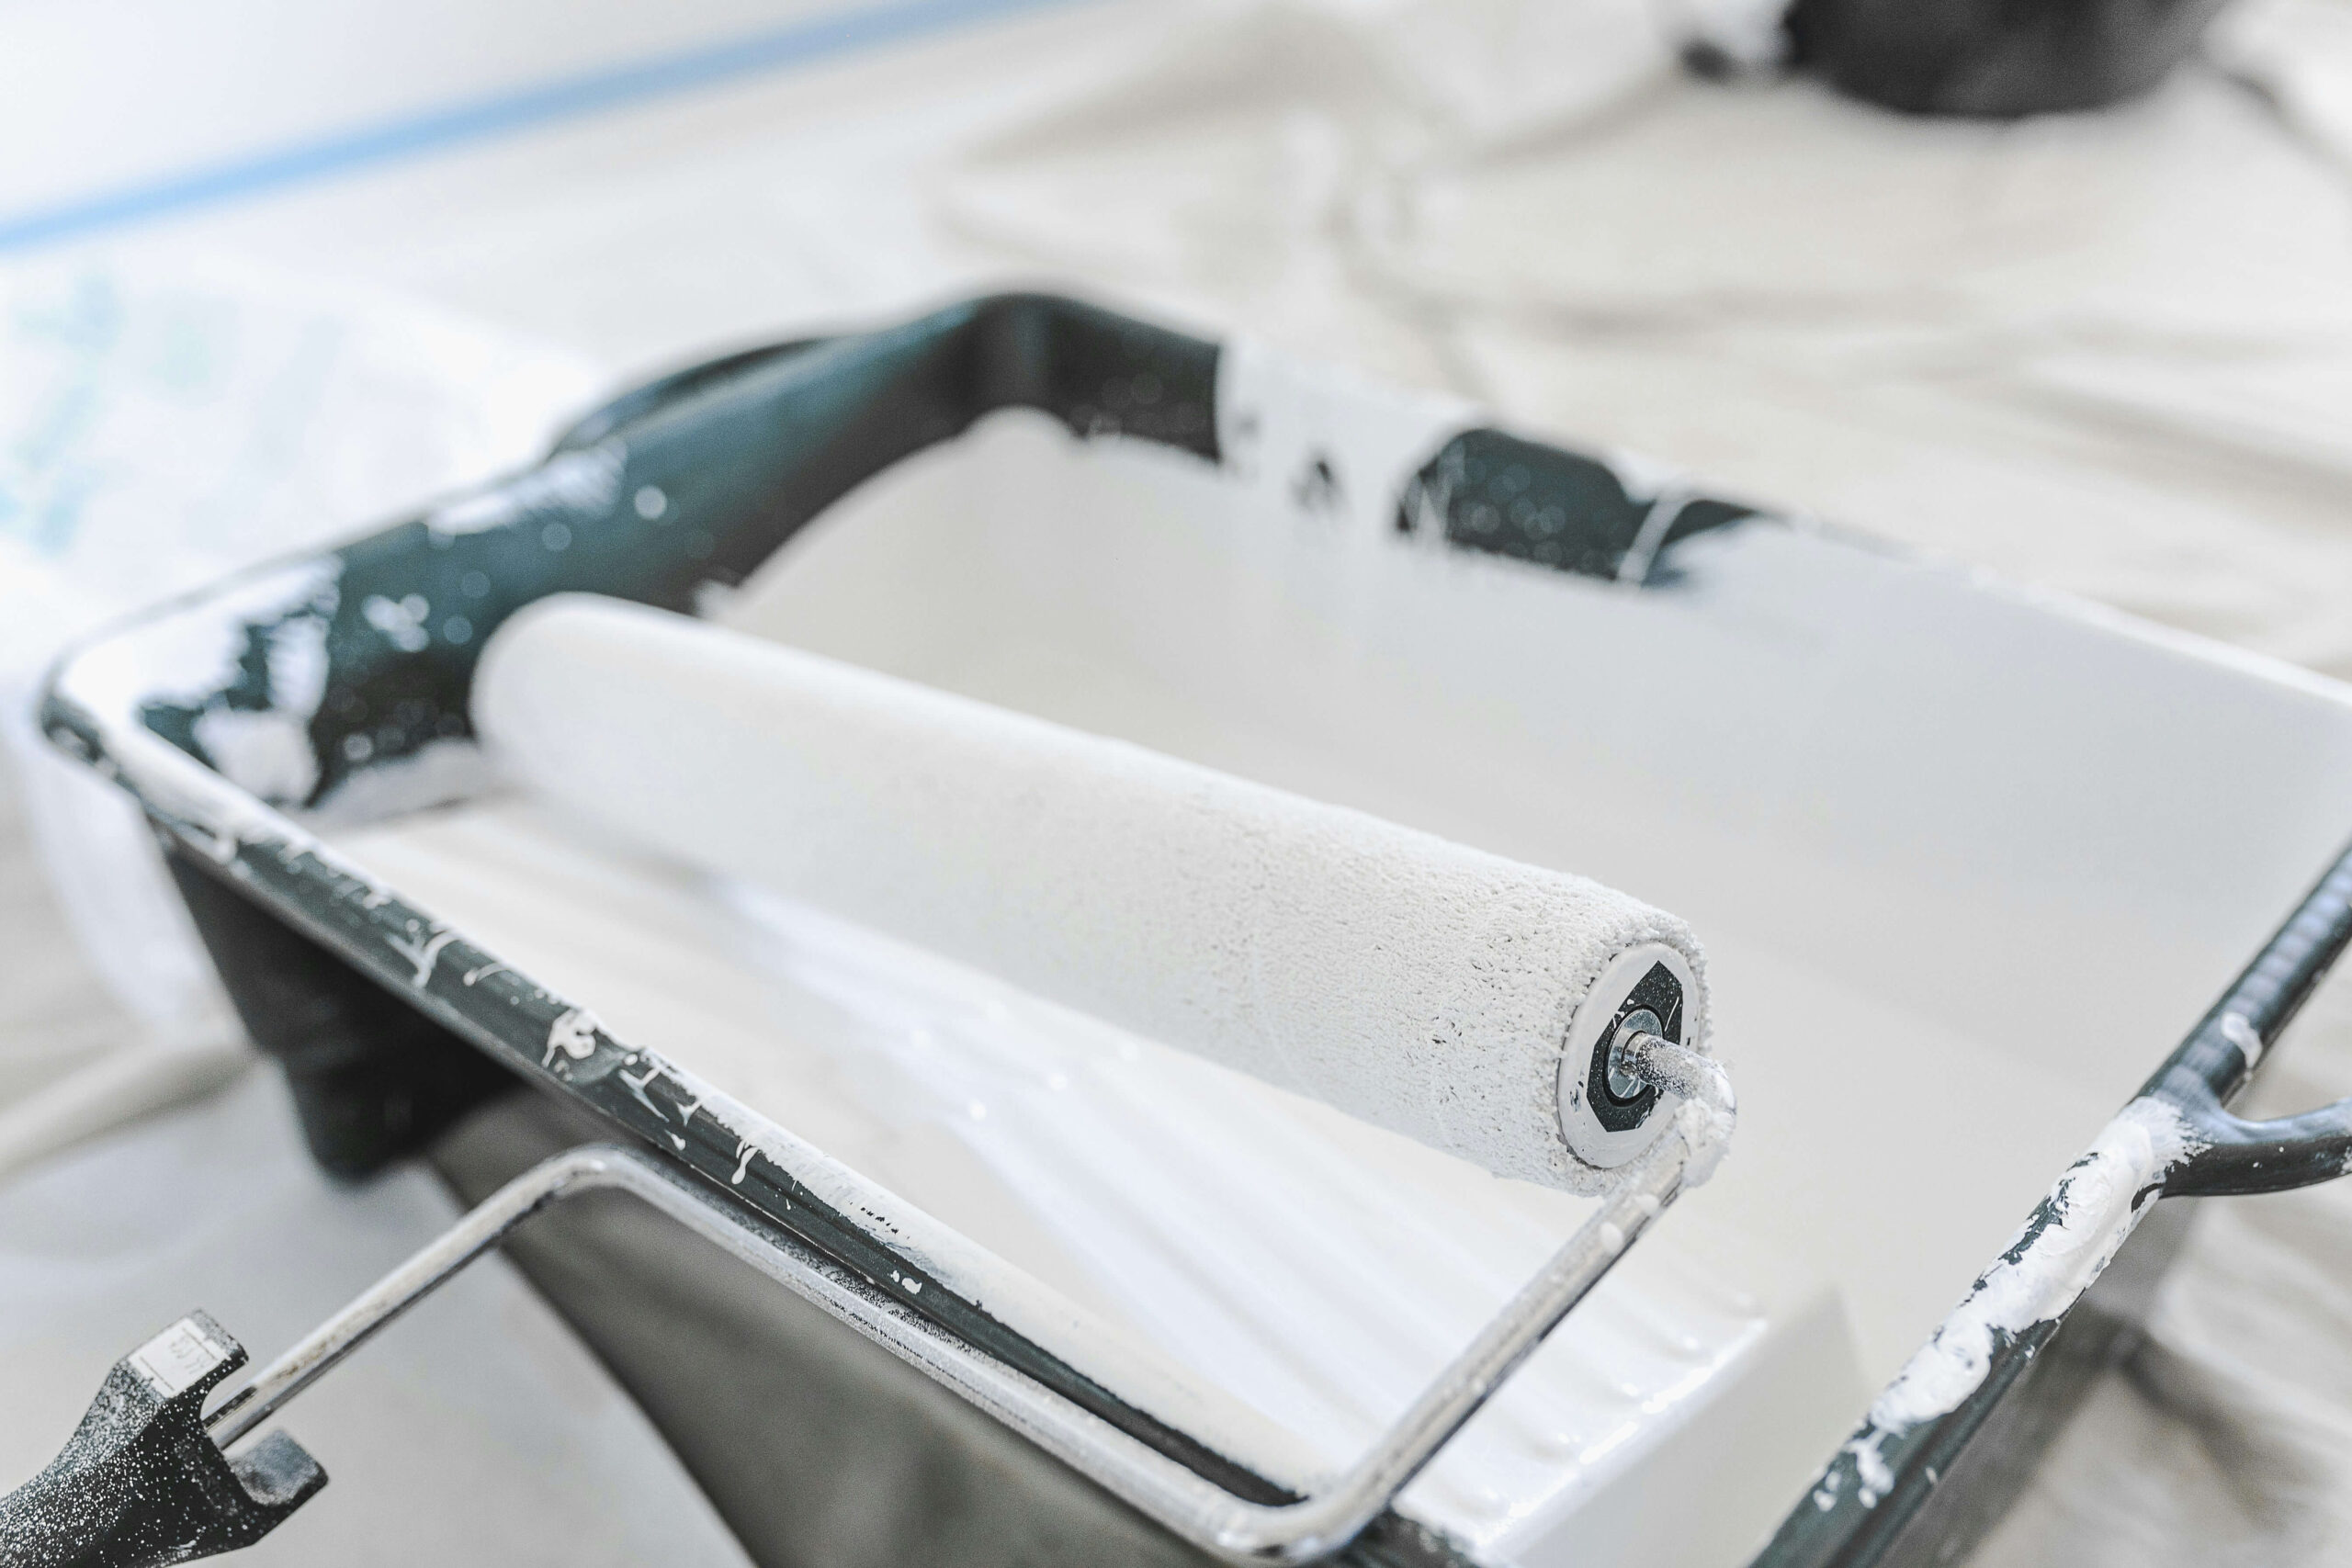
Tools and Materials You’ll Need
Before starting any drywall repair, gather everything you’ll need. There are few things more frustrating than getting halfway through a repair and realizing you don’t have the right tool. This is the basic kit that handles 95% of household drywall damage:
Essential tools:
- Putty knife set — at least one 1.5″ knife for small repairs and one 4–6″ knife for spreading compound.
- Sanding sponge (medium grit) or sandpaper (120 and 220 grit)
- Utility knife with sharp blade
- Measuring tape
- Pencil
- Drywall saw or keyhole saw (only needed for large repairs)
Materials:
- Lightweight spackle for small holes (DAP DryDex or similar)
- Joint compound (“mud”) for medium and large repairs
- Self-adhesive mesh patch in appropriate sizes (typically 4″ or 6″)
- Drywall tape (paper or mesh) for large repairs
- Spare drywall piece the same thickness as your wall (for large holes)
- Drywall screws (1-1/4″ coarse thread)
- Primer (a stain-blocking primer is best)
- Matching wall paint
For a complete overview of all the tools mentioned here and when to buy quality vs budget options, see our Essential Tools Every Homeowner Should Own and our 5-year tool cost breakdown.
Budget tip: A basic drywall repair kit sold at any hardware store typically costs $15–$25 and includes everything except the primer and paint. For a one-time repair, that’s usually more economical than buying components separately.
How to Patch Small Drywall Holes (Nail and Screw Holes)
Small holes — those left behind by removed nails, screws, picture hangers, or small impact dings — are the easiest type to fix. The whole repair takes maybe 15 minutes of active work, plus drying time.
Step 1: Inspect and clean the hole
Look at the hole closely. If there are any loose paint chips, drywall paper tears, or raised edges, gently scrape them away with the edge of your putty knife. The surface around the hole should be smooth and flush.
If the hole has a small “crater” effect (where the drywall paper is pushed inward), lightly tap the edges flat with the handle of your putty knife. You want a clean, flat surface to work with.
Step 2: Apply spackle
Scoop a small amount of lightweight spackle onto the edge of your 1.5″ putty knife. Press it firmly into the hole, then drag the knife across the surface at a slight angle. The goal is to fill the hole completely while leaving the surrounding wall smooth.
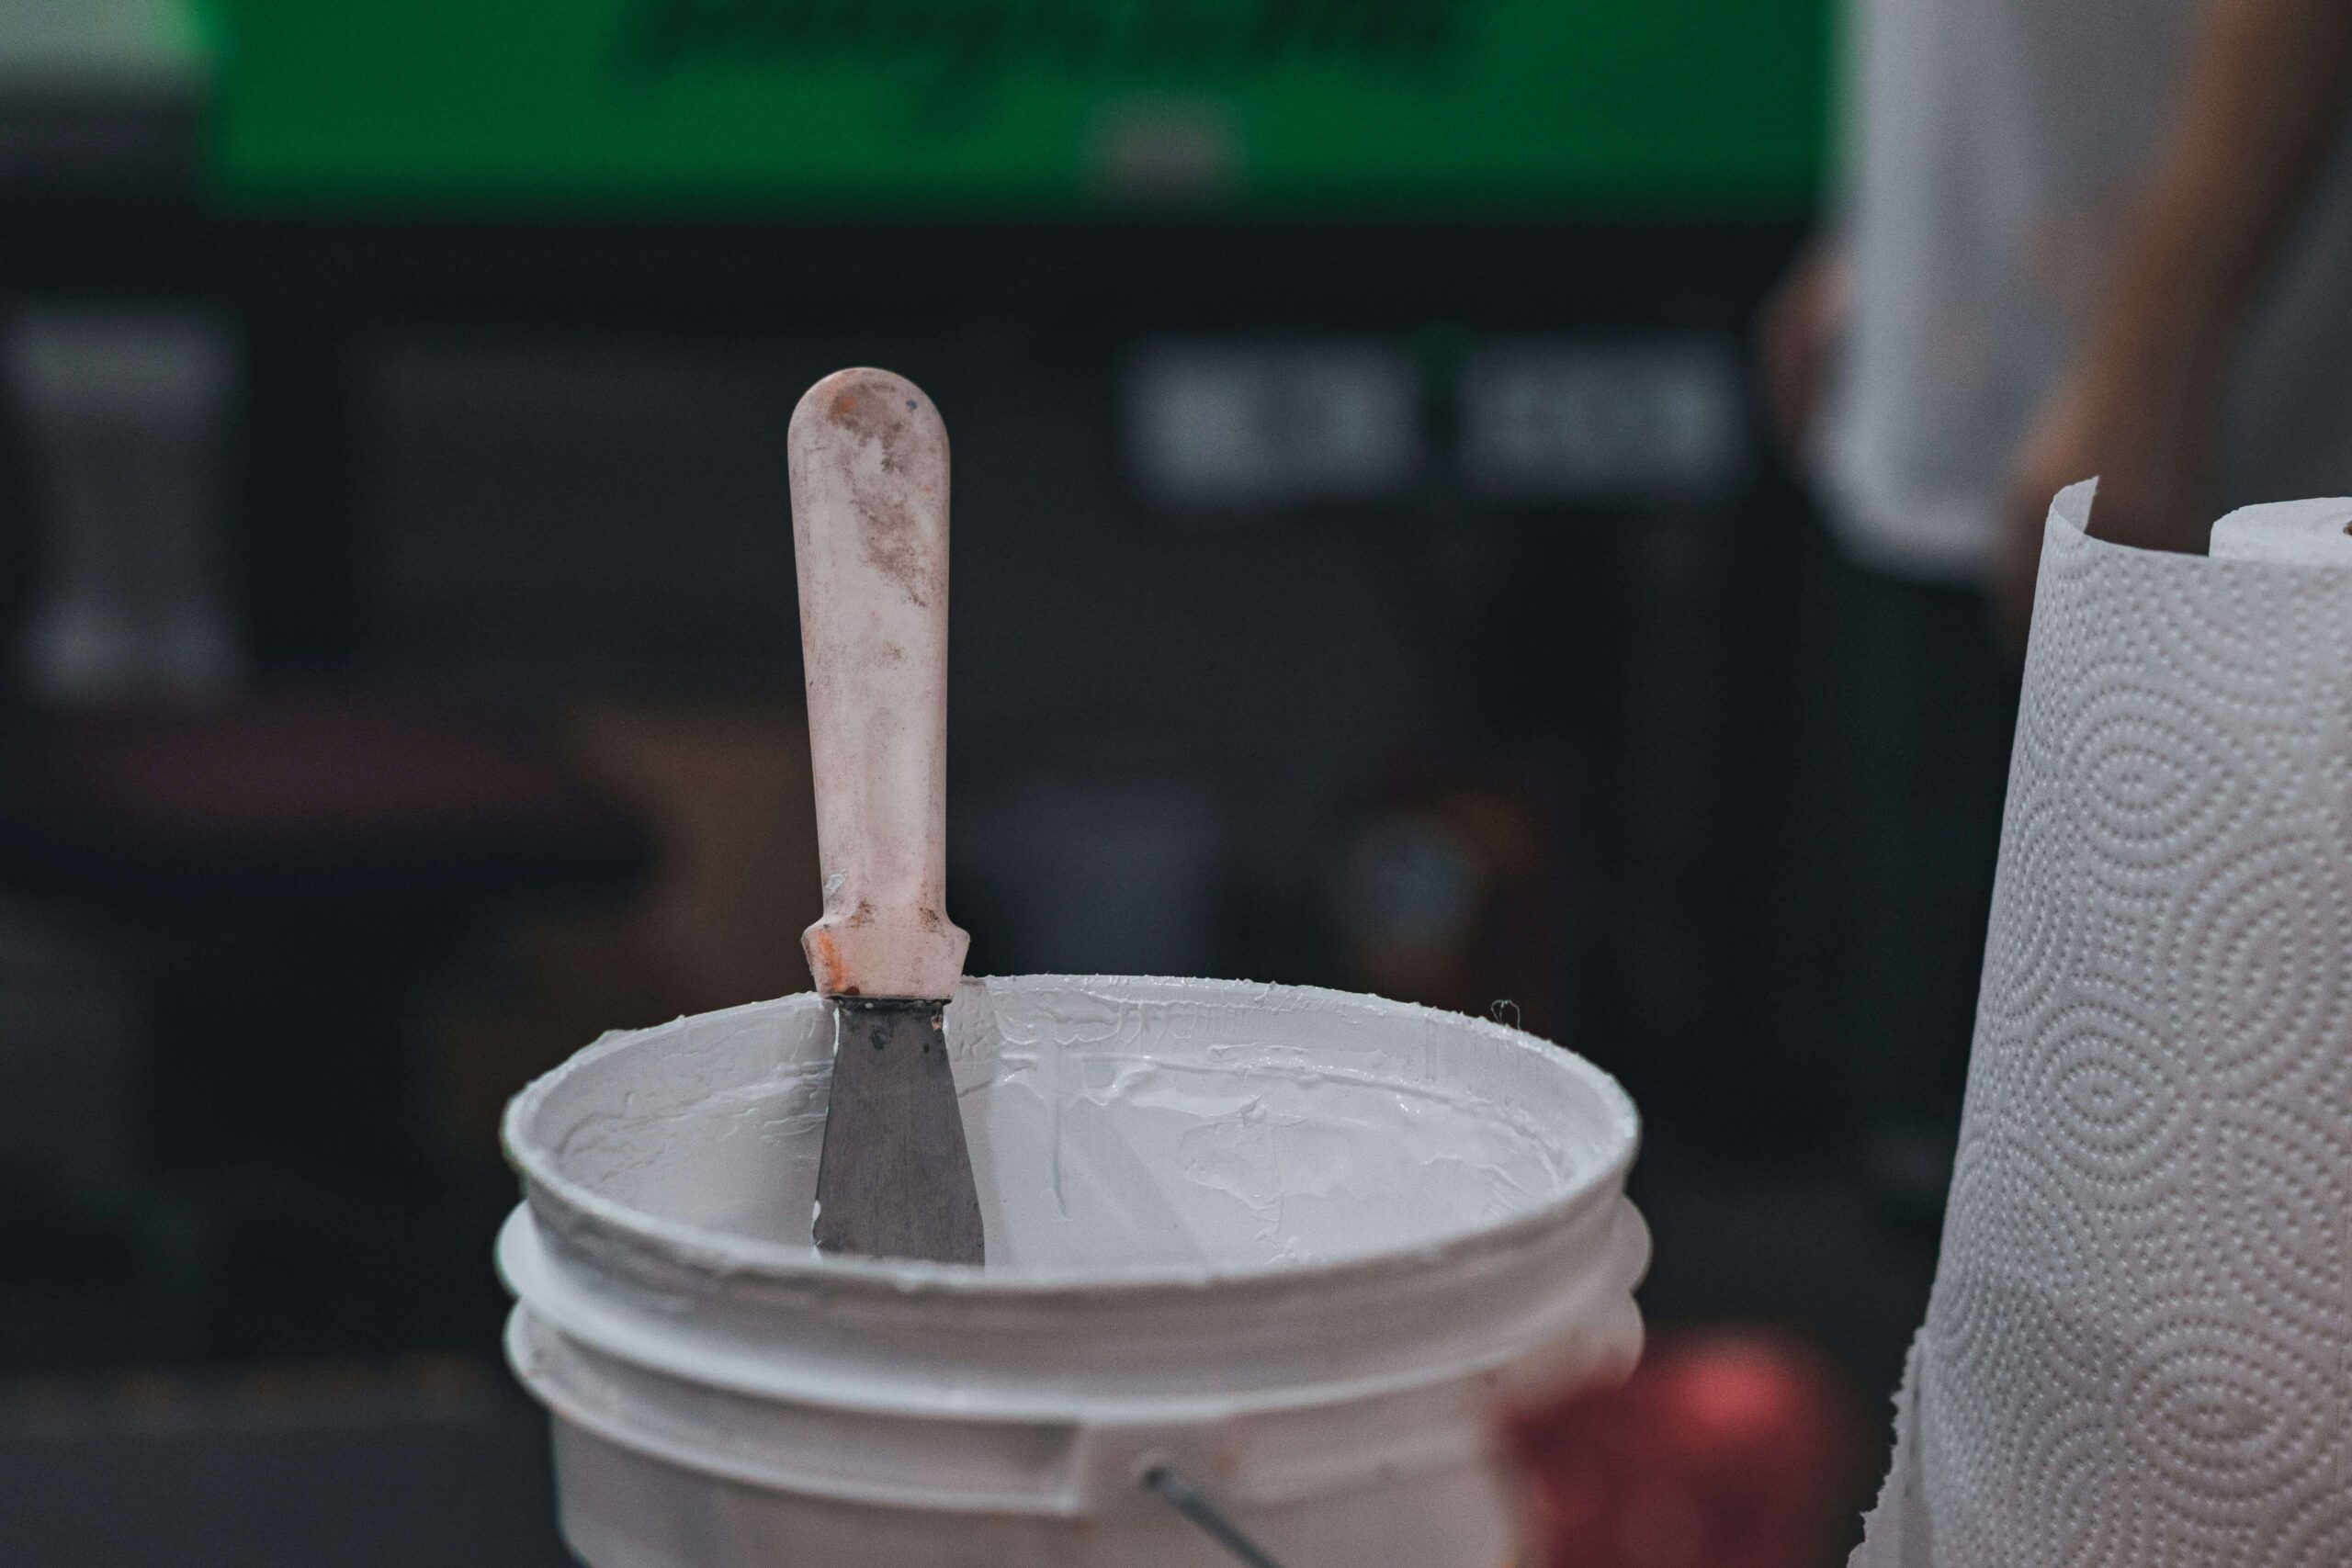
A little excess around the edges is fine — you’ll sand it off later. What you don’t want is a big mound of spackle sticking out from the wall.
Pro tip: Some lightweight spackles (like DryDex) start pink and turn white when fully dry. This takes the guesswork out of knowing when to sand.
Step 3: Let it dry completely
Drying time depends on the product and the size of the patch, but lightweight spackle typically dries in 30–60 minutes for small holes. Don’t rush this step. Sanding wet spackle is a disaster — it gums up your sandpaper, smears across the wall, and you’ll have to redo the whole repair.
Step 4: Sand smooth
Once fully dry, use a sanding sponge with medium grit. Sand the patched area with light, circular motions until it’s perfectly flush with the surrounding wall. Run your hand over it — if you can feel any bump or ridge, keep sanding.
For a finishing pass, switch to 220-grit sandpaper to remove any remaining texture marks.
Step 5: Prime and paint
Wipe away dust with a damp cloth, then apply a coat of primer to the patched area. Once dry, paint with your wall color. Always prime before painting drywall repairs — without primer, the patched area will absorb paint differently than the surrounding wall, leaving a visible “flash” mark.
How to Patch Medium Drywall Holes (Up to 6 Inches)
Medium holes — anything from a doorknob impact to fist-sized damage — require a slightly different approach. You can’t just fill them with spackle; the patch material needs structural support to keep the repair from cracking later.
This is where mesh patches come in. They’re inexpensive, self-adhesive, and turn a medium-difficulty repair into something almost as easy as a small hole repair.
👉 Get a self-adhesive mesh patch kit on Amazon
Step 1: Clean up the damaged area
Use your utility knife to trim away any loose drywall paper or jagged edges around the hole. You want clean, firm edges all the way around. If there are any “crumbly” sections, cut them back to solid drywall.
Step 2: Apply the mesh patch
Self-adhesive mesh patches come in standard sizes (typically 4″, 6″, and 8″). Choose one that’s at least 2 inches larger than your hole in every direction. Peel off the backing and press it firmly over the hole, smoothing out any wrinkles.
The mesh should adhere completely flat to the wall. If it’s bubbling or peeling at the edges, press harder or trim it down.
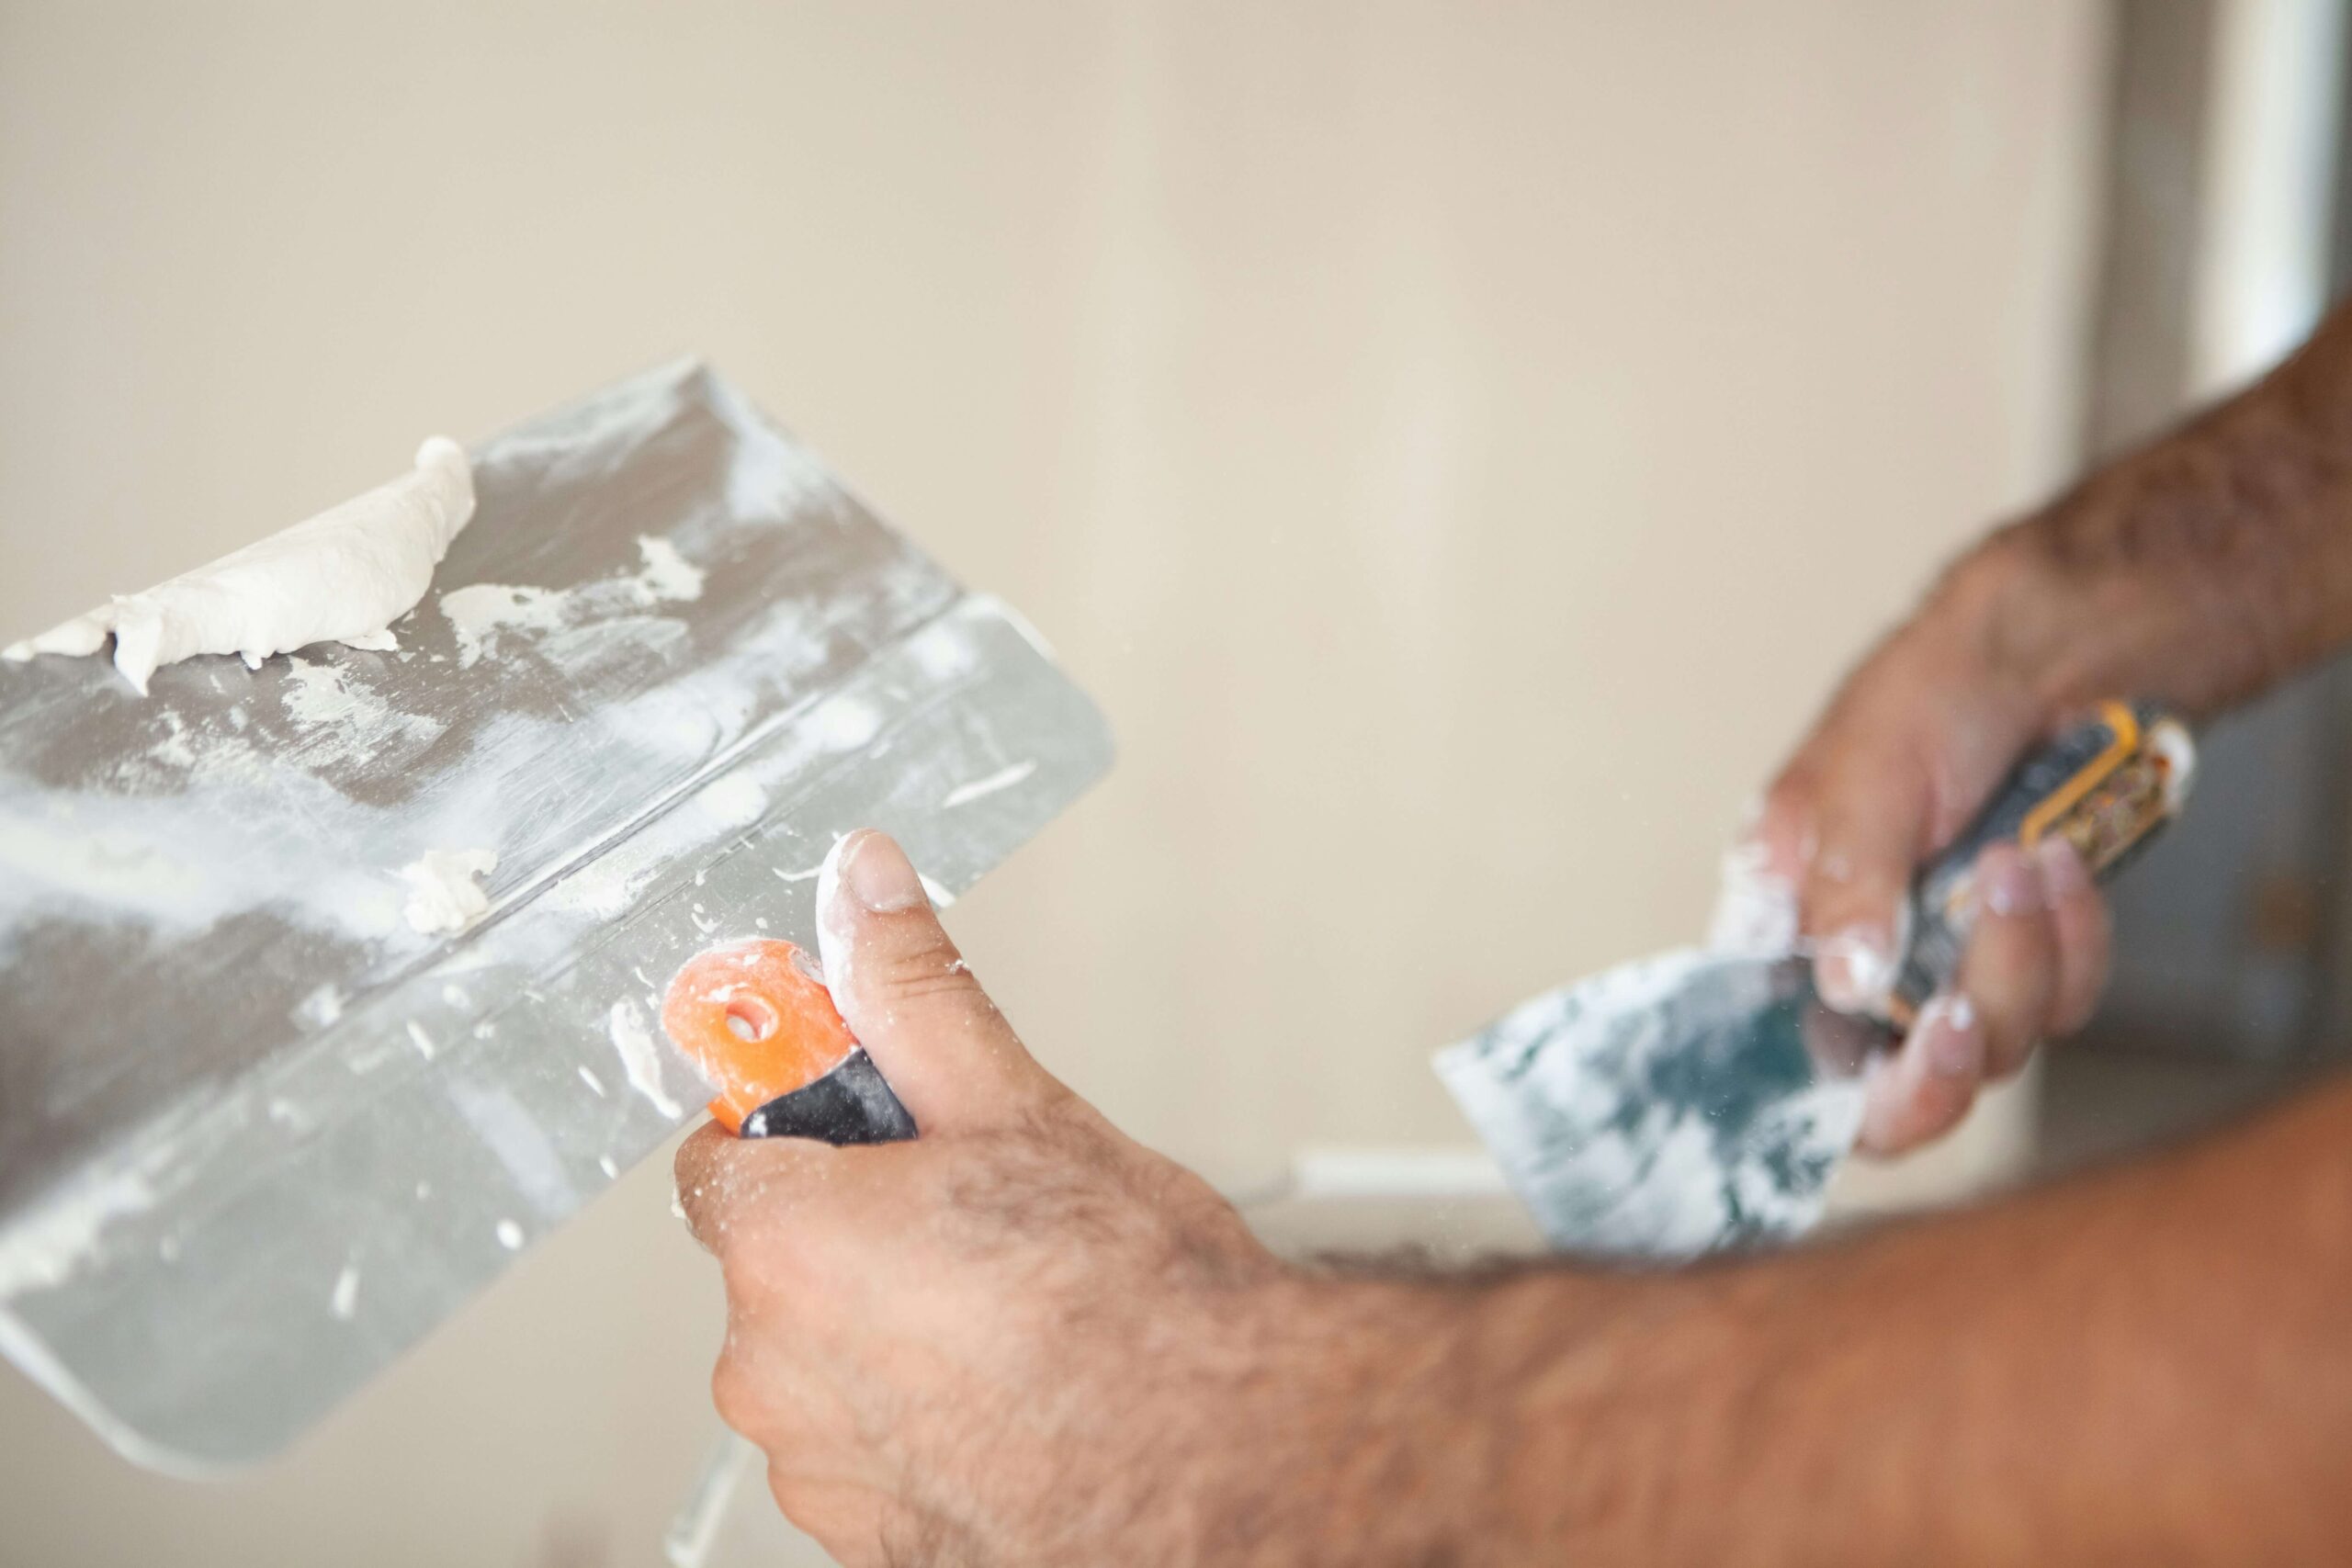
Step 3: Apply the first coat of joint compound
Using your 4–6″ putty knife, spread a thin, even layer of joint compound over the entire patch — extending 2–3 inches beyond the edges of the mesh. This is called “feathering” the edges, and it’s what makes the repair blend invisibly into the wall.
Don’t try to make it perfect with one coat. Three thin coats look better than one thick coat. Each coat should be slightly wider than the last, gradually fading the patch into the surrounding wall.
Step 4: Let dry, sand lightly, repeat
Joint compound typically takes 4–24 hours to fully dry, depending on humidity and thickness. Wait until it’s completely dry (it changes from gray to bright white), then sand lightly to knock down any ridges.
Apply your second coat, wider than the first. Dry, sand. Apply your third coat, wider still. Dry, sand.
Step 5: Final sanding, prime, and paint
After the third coat is dry, do a final sanding with 220-grit paper until the patched area is perfectly smooth and the edges are imperceptible. Wipe clean, prime, and paint.
The texture problem: If your wall has a texture (orange peel, knockdown, popcorn, etc.), a smooth patch will be visibly different. Texture spray cans are sold at hardware stores ($8–$15) and can match most common textures. Practice on cardboard before spraying the actual wall.
How to Patch Large Drywall Holes (Bigger Than 6 Inches)
Large holes require actual drywall replacement. This sounds scarier than it is — it’s just measuring, cutting, and screwing in a new piece. Anyone who can use a utility knife and a drill can do this.
Step 1: Square off the damaged area
Don’t try to patch the hole as it is. Instead, use your drywall saw or utility knife to cut the damaged area into a clean rectangle or square. This makes the repair much easier because you’re working with straight edges.
Use a pencil and a straightedge to mark the cut lines, then cut along those lines. Remove the damaged piece.
Step 2: Cut a backing support
Inside the hole, there are no wood studs to attach a new piece of drywall to — so you need to create a backing. Cut a piece of scrap wood (a strip of 1×2 or similar) about 2 inches longer than the height of your hole. Insert it into the hole, position it against the back of the existing drywall, and secure it with two drywall screws driven through the front of the wall into the wood.
Step 3: Cut and install the replacement drywall
Measure your hole carefully. Cut a piece of drywall to fit — slightly smaller is better than slightly larger. Use your utility knife to score and snap the drywall.
Set the new piece into the hole. It should rest against the backing support you just installed. Drive 2–4 drywall screws through the new piece into the backing wood to secure it.
Step 4: Tape the seams
Cover all four seams (where the new piece meets the existing wall) with drywall tape. Paper tape with joint compound is the traditional and stronger choice; mesh tape is easier for beginners but produces slightly weaker joints.
Apply a thin layer of joint compound, press the tape into it, then smooth it down with your putty knife, removing any excess compound.
Step 5: Three coats of compound
This is where the patience pays off. Apply three thin coats of joint compound over the taped seams, letting each dry completely (4–24 hours) and lightly sanding between coats.
Each coat should be wider than the previous one, feathering the edges further out with every application. By the third coat, the compound should extend 8–10 inches beyond the patch, blending seamlessly into the surrounding wall.
Step 6: Final sanding, prime, paint
After the third coat dries, sand everything smooth with 220-grit paper. Wipe clean, prime the entire patched area, and paint to match.
Reality check: A large drywall repair can take 2–4 days from start to finish, mostly due to drying times. Don’t try to rush it into one day — the result will be visible from across the room.
Sanding, Priming, and Painting Like a Pro
Most amateur drywall repairs fail at the finishing stage, not the patching stage. Here’s how to make your repair invisible.
Sanding tips
- Always sand in good light. A bright work light angled across the wall will reveal imperfections you’d otherwise miss until paint dries.
- Use a sanding sponge for corners and edges. They contour to surfaces better than flat sandpaper.
- Don’t over-sand. Once the patch is flush, stop. Over-sanding exposes the mesh or tape underneath.
- Wipe away all dust before priming. A slightly damp microfiber cloth works best.
Priming matters more than you think
Skip this step and your repair will haunt you forever. Drywall compound is much more porous than painted drywall — without primer, paint absorbs into the patch unevenly, creating a visible “halo” or flash mark.
A stain-blocking primer (KILZ, Zinsser, or similar) costs about $12 for a quart and is worth every penny.
Painting tips
- Use the same paint and the same finish as your wall (matte, eggshell, satin, semi-gloss). Switching finishes mid-wall is instantly visible.
- Paint with a small roller, not a brush. A 4″ or 6″ foam roller leaves a smoother finish that matches the surrounding wall texture.
- Paint a feathered area larger than the patch. Don’t just paint over the patched section — extend your paint about a foot in every direction, gradually thinning out. This blends the repair into the existing paint.
- Two thin coats look better than one thick coat. Always.
Common Mistakes to Avoid
The most common drywall repair mistakes are also the most preventable:
- Skipping primer. Already mentioned, but worth repeating. This is the #1 mistake.
- Applying compound too thick. Thick coats crack as they dry. Three thin coats > one thick coat. Always.
- Sanding before fully dry. Wet or partially dry compound smears, gums up sandpaper, and ruins the work you’ve already done.
- Not feathering edges. A patch with hard edges will always be visible. Soft, gradually fading edges are invisible.
- Trying to repair textured walls smooth. If your wall has texture, your patch needs texture. A smooth patch on a textured wall is more obvious than not patching at all.
- Using the wrong product. Spackle for small holes only. Joint compound for everything else. Caulk is for trim and gaps, not drywall holes.
- Painting without matching the original wall. Even slight color or finish differences are dramatically visible. Bring a paint chip to the hardware store or use the original paint can.
When to Call a Professional
DIY drywall repair handles 99% of household damage. But there are situations where professional help is the smarter choice:
- Damage caused by water. If the drywall is soft, sagging, or stained from a leak, there’s likely hidden damage behind the wall (mold, rotted framing, ongoing leaks). Fixing the visible damage without addressing the cause means you’ll be repairing again in 6 months.
- Damage around electrical outlets, switches, or wiring. If the hole exposes wires or comes close to electrical components, hire a professional. Drywall repair is cheap; electrical fires are not.
- Multiple large holes throughout the home. If you’re patching 5+ large holes (post-renter situation, accident, etc.), a professional drywaller can do it faster and the texture matching will be better.
- Ceiling damage. Ceiling drywall repair is much harder than wall repair because you’re fighting gravity. For ceiling damage, the labor cost of a professional is often worth it.
- Asbestos or lead concerns. Homes built before 1980 may have asbestos in older drywall or lead in old paint. If you suspect either, hire a certified professional — DIY can release hazardous materials into the air.
For routine repairs, though? You’ve got this. The materials cost $25, the skills are basic, and the result is genuinely satisfying.
Once the repair is done, if you’re looking to mount something back on that wall correctly, our guide on how to mount anything on drywall without it falling off covers anchors, weight limits, and stud mounting in detail.
Additional Reading
The most consistent pattern in drywall repair questions on r/HomeImprovement and r/DIY isn’t about technique — it’s about rushing. Almost every “my repair looks terrible” post comes down to one skipped step: not waiting for compound to fully dry, or skipping primer. Give it the time it needs and the result will surprise you.
If you found this guide helpful, our Best Cordless Drill for Beginners 2026 covers the right drill for drywall work — having a reliable tool makes large repairs significantly easier.
Frequently Asked Questions
How long does drywall repair take to dry?
Lightweight spackle dries in 30–60 minutes for small holes. Joint compound takes 4–24 hours per coat, depending on humidity and thickness. Total drying time for a large repair with 3 coats can be 2–4 days. Never rush drying time — it’s the #1 cause of failed repairs.
What’s the difference between spackle and joint compound?
Spackle is lightweight, dries fast, and is ideal for small holes (under 1/2″). It’s harder to sand smooth in large areas. Joint compound (also called “mud”) is heavier, dries slower, and is used for everything from taping seams to finishing large patches. For most homeowners, having both products is ideal — but if you can only buy one, joint compound is more versatile.
Can I paint directly over spackle without primer?
Technically yes, but the result will be visibly different from the surrounding wall. Spackle absorbs paint more than painted drywall, creating a “flash” mark that’s especially visible under angled light. Always prime first — it adds 30 minutes and makes the repair invisible.
How do I match my wall paint if I don’t have the original?
Bring a small paint chip (from inside a closet, behind a switch plate, or a discrete area) to your local hardware store. Their color-matching machines can replicate most paint colors within 95% accuracy. If matching is critical, repaint the entire wall — corner to corner — to eliminate visible color differences.
Why does my repair keep cracking?
Cracking usually means one of three things: you applied compound too thick (causing it to shrink-crack as it dries), you didn’t tape over a seam properly, or the wall behind the patch is shifting (a structural issue). Apply thin coats, use tape or mesh on any seam over 1/2 inch, and if cracks keep reappearing, consult a contractor about possible structural movement.
How much does it cost to repair drywall yourself vs hire someone?
DIY cost: $15–$50 in materials, depending on hole size. Professional repair: $75–$200 for a single small-to-medium hole, $250–$600+ for larger or multiple holes. For homeowners comfortable with basic tools, DIY is dramatically cheaper — and the skills carry over to every drywall repair you’ll ever need.
Final Thoughts
Drywall repair is one of the highest-ROI skills a homeowner can learn. It saves you hundreds of dollars per incident, takes minimal investment in tools, and the techniques are forgiving enough that even your first attempt will look decent if you follow the steps.
The trick is patience: let things dry, sand carefully, prime always, and feather your edges. Rushing any single step is what separates an invisible repair from one your guests will notice from the doorway.
Start with a small hole. Build confidence. Within a few repairs, you’ll be tackling fist-sized damage without thinking twice — and saving yourself a small fortune over the lifetime of homeownership.
If you found this guide helpful, you might also want to read our Best Cordless Drill for Beginners 2026 — having a reliable drill makes many drywall repairs (especially large ones) significantly easier.
Have a tricky drywall situation we didn’t cover? Email us at contact@fixyardly.com — we read and respond to every message.
This article contains affiliate links. As an Amazon Associate, Fixyardly earns from qualifying purchases. See our Affiliate Disclosure for details.
Angel Gabriel Pucheta is the founder of Fixyardly, where he writes about home improvement, tool reviews, and practical DIY techniques. He started Fixyardly to cut through the noise of generic top-10 lists and provide homeowners with clear, honest, no-fluff guidance. Reach him at contact@fixyardly.com.